Hopefully once or twice a week I can show these fabulous recipes that I find on Pinterest and bring them here with giving the credit to the writer and pictures of the process of making this. I will lead you to the complete recipe and today's comes from: Laura's Latest.com
http://www.laurenslatest.com/hasselback-garlic-cheesy-bread/
Hasselback Garlic Cheesy Bread
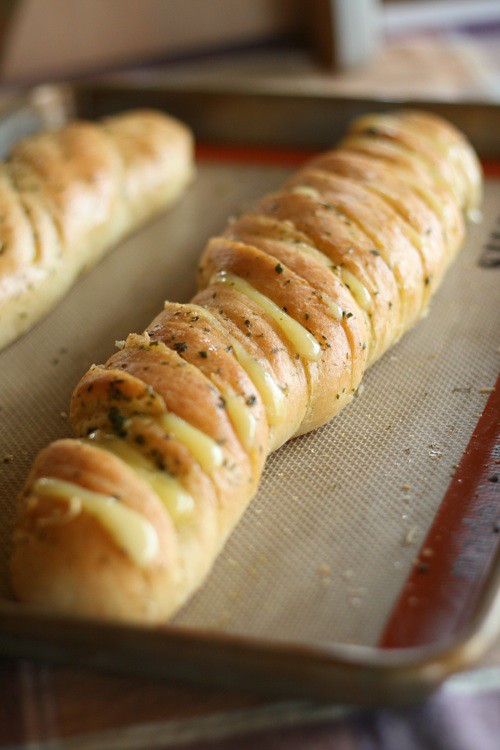
This bread is the bomb.
Last week, I got some evil
Kerrygold Samples in the mail. Basically, it was a box filled with cheese and butter.
Aw, shucks.
What is a girl to do?
To prevent myself from inhaling it all in a 24 hour period, I put
some in the freezer, but then immediately thought of this bread I’ve
been wanting to make. Everyone has seen the Hasselback Potato, right?
Well this is a much more scandalous take on that. Think MORE butter,
MORE garlic and MORE cheese. Carbs are my friend, can you tell?
They hang out in my booty.
{TMI? Sorry.}
This bread is the very reason why I run. It helps lessen the blow to the whole ‘carbs setting up shop in my hiney’ thing.
And believe it or not, this is super simple to make! I think its safe
to say we all have the ingredients for bread in our pantries.
Butter-most likely and cheese-uh, yeah! I seem to have these ingredients
on hand all.the.time. I used garlic herb butter from
Kerrygold
and I’ve seen pre-made garlic butter at the store, but it’s really easy
to make at home. {Mix butter and finely minced garlic together. Yup,
that’s it.}
So, that’s all the info you need to know, m’kay? Let’s make some bread, yo.
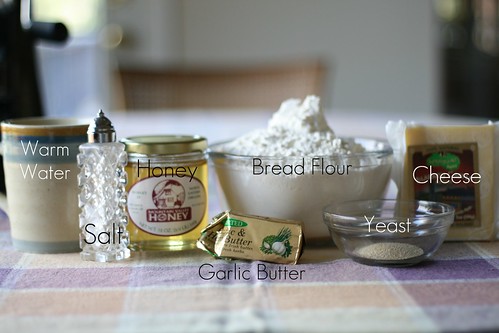
First thing you’re going to want to do is grab all your ingredients. Nothing to out of the ordinary here.
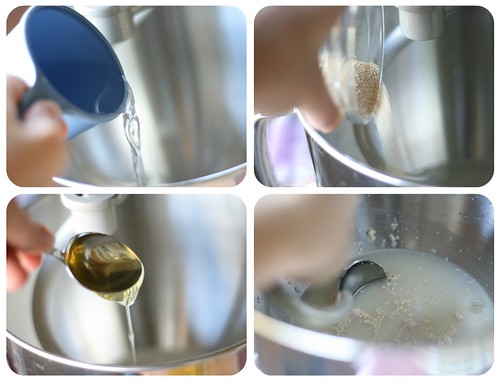
Into a mixer bowl, add in your water, yeast and honey.
Stir it all in and leave it alone for 5-10 minutes. You want to make
sure your yeast is alive and kickin’.

Once your yeast has gotten foamy, stir in the salt and the
flour in 1/4 cup increments. PS-You never want to go above level 2
{stir} when using a Kitchenaid Mixer. I just just read that in the
instructions manual. Making dough=slow speed.
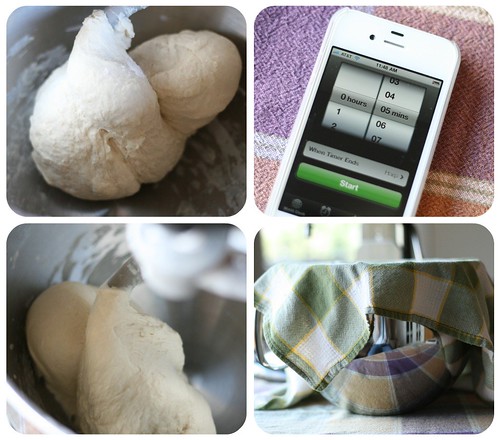
Once the dough starts pulling away from the sides and the
bowl is looking pretty clean, then it’s time to set the timer and walk
away. 5 minutes later your dough should be tacky and smooth. Like, it
should feel a little sticky, but leave nothing on your fingers when you
poke at it. Grease your bowl and dough. Cover the whole thing with a
towel or plastic wrap and let it rise for an hour or until it’s doubled
in size.
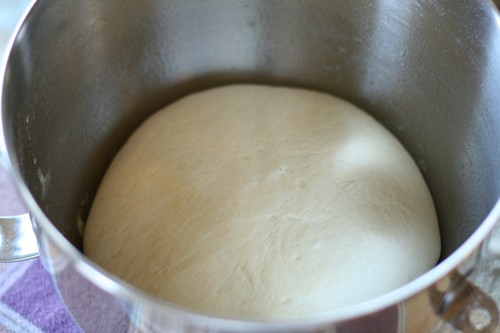
One hour later, I got me some purdy lookin’ dough!
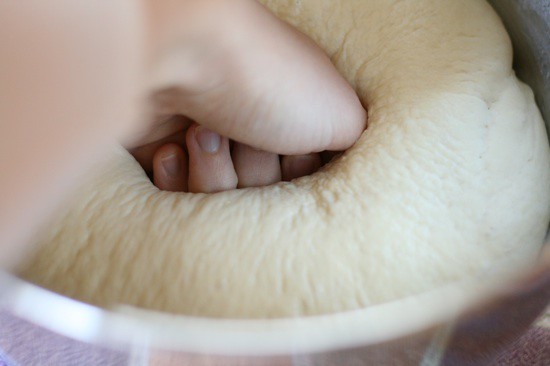
Punch that dough down and divide into two equal balls.

Roll those dough balls into two baguette shapes the length
of your baking sheet. I like to twist mine because {1}they look cool and
{2}it helps keep them from shrinking.
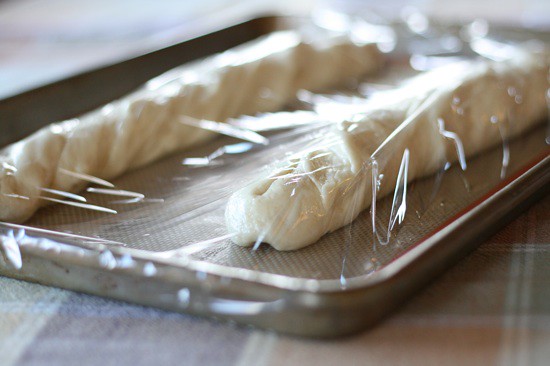
Cover with plastic wrap and let it rise for 30 minutes.
Then preheat your oven to 400 degrees and place the pan nearby to get
all that extra warmth seeping from your oven.
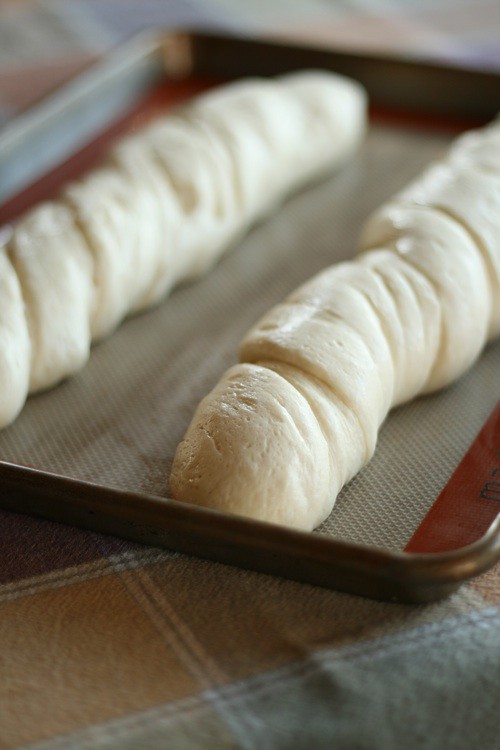
They should have doubled by the time the oven is preheated
{about 45 minutes later}. Reduce the oven temp to 350 and bake for 20
minutes.
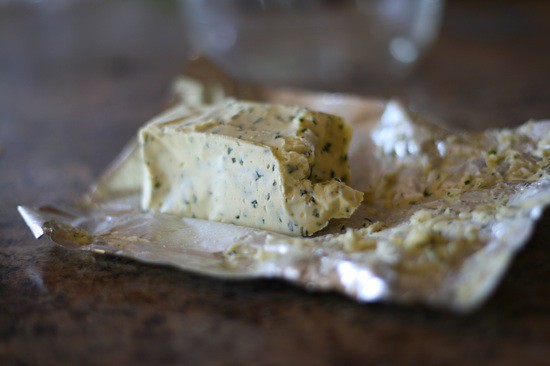
In the mean time, grab some of your garlic herb butter…

And melt it down. It’s so much faster working with melted butter.
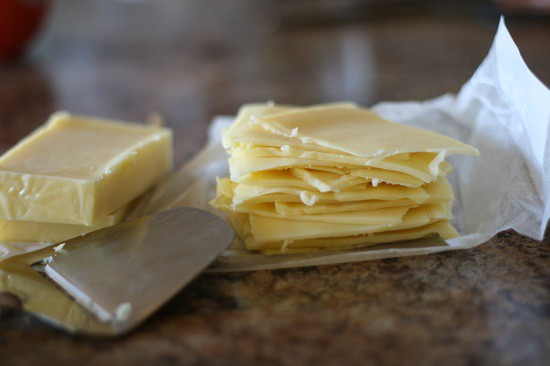
You’re gonna want to slice some cheese too. I used a sharp white cheddar. OH yeah.
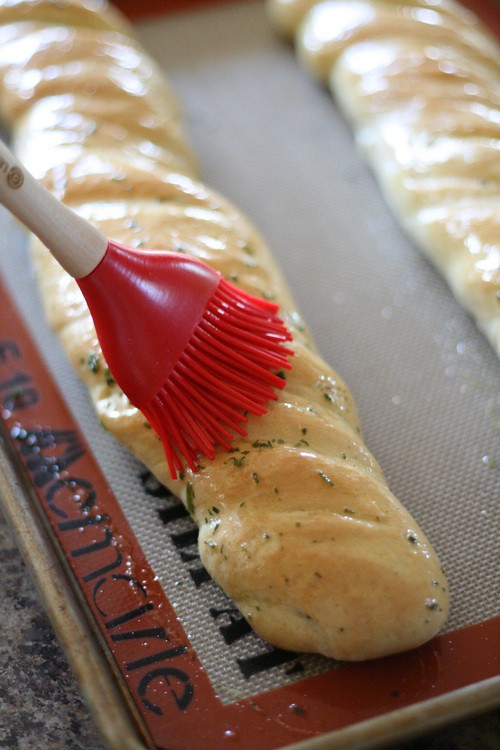
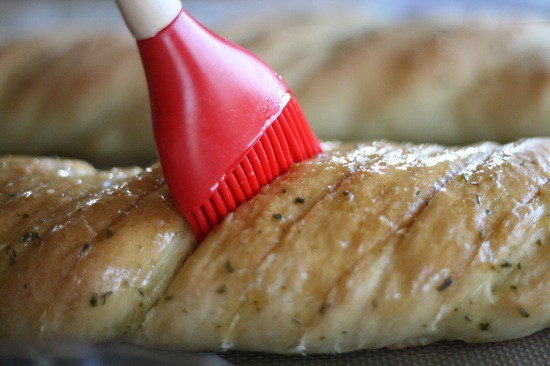
After 20 minutes, your french loaves should start to
golden. Take them out of the oven and brush with some melted butter.
Bake another 5-7 minutes or until perfectly golden. Remove from oven and
cool 15 minutes. Now, we could stop here and have two lovely french
loaves of bread but I’m insane and must add butter and cheese. So, lets
keep going!

Slice your bread into 1 inch slices 3/4 of the way down.
It’s important to let your bread cool at least 15 minutes so that when
you cut it it doesn’t squash the loaf right down. Make sure you use a
bread knife too! *Important*
Once your bread is sliced, take that garlic butter and slather it on top and in between all those cracks. Be generous!

Then put your slices of cheese into those cracks and bake it another 5 minutes or until all that cheese is melted.
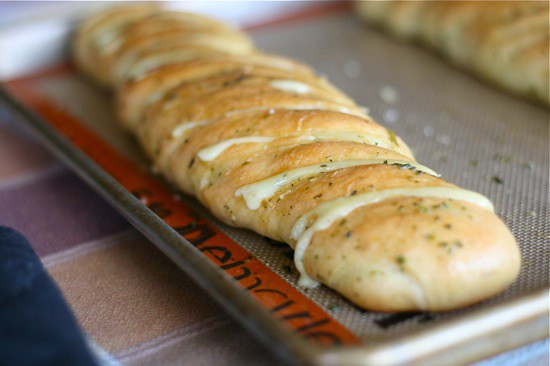
Hello, lover.
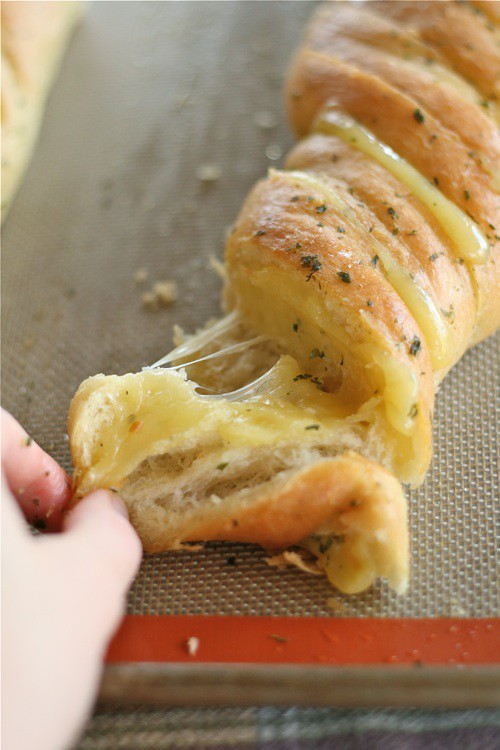
Come to mama.
See? Not too hard was it! Here’s the printable for ya’ll! Hope you
enjoy! Try not to eat the entire thing in one sitting…or at least have
the decency to change into stretchy pants first.
Hasselback Garlic Cheesy Bread
Yield: 2 loaves
Ingredients:
1 cup Warm Water
1 Tablespoon Honey
1 envelope Active Dry Yeast (2 1/4 Teaspoons)
1 teaspoon Salt
3 cups Bread Flour
Olive Oil, For Greasing Surfaces
⅓ pounds Sharp White Cheddar, Or Any Other Cheese You Prefer
½ cups Garlic Butter
Directions:
In a large bowl, stir water, honey and
yeast together. Let yeast proof 5 minutes. Once you know yeast is
active, stir in salt and the flour in 1/4 cup increments. If you are
using a stand mixer, be sure to not increase your speed higher than a 2
or ‘stir’.
Once dough starts pulling away from the sides and the bowl
seems to be pretty clean, set a timer for 5 minutes and walk away. Let
the machine knead the dough. After 5 minutes, dough should be smooth and
tacky but when touched shouldn’t leave any dough on your fingers.
Grease the bowl and the dough. Cover with plastic wrap or a kitchen towel and let rise 1 hour or until doubled in size.
Punch down dough and cut into two equal portions. Form into two long
baguettes the length of the cookie sheet. I like to twist mine because
it looks cool, but it also keeps its length and doesn’t shrink. Cover
with plastic wrap and rise 30 minutes.
Start to preheat oven to 400
degrees F and place dough close to the oven where it’s nice and warm.
Once oven is preheated, remove plastic wrap, from the dough reduce oven
to 350F, put the bread into the oven and bake 20 minutes.
In the meantime, slice the cheese into thin slices and melt the butter.
Pull loaves of bread out of the oven after 20 minutes and brush with the
melted garlic butter. Bake another 5-7 minutes or until bread begins to
turn a golden brown. Remove from oven and cool 15 minutes.
Cut 1-inch slices 3/4′s of the the way through the loaves. Brush garlic
butter in between each slice and fill with a slice of cheese. Bake
another 3-5 minutes or until cheese is completely melted.
Serve immediately.
A shorter version with added pesto (which is 1/2 homemade) is:
http://wearychef.com/2013/04/01/irresistible-cheesy-pesto-bread/
That's the Irresistible Cheesy Pesto Bread!
Which one would you choose to make if you felt like making it?


 Day 20


